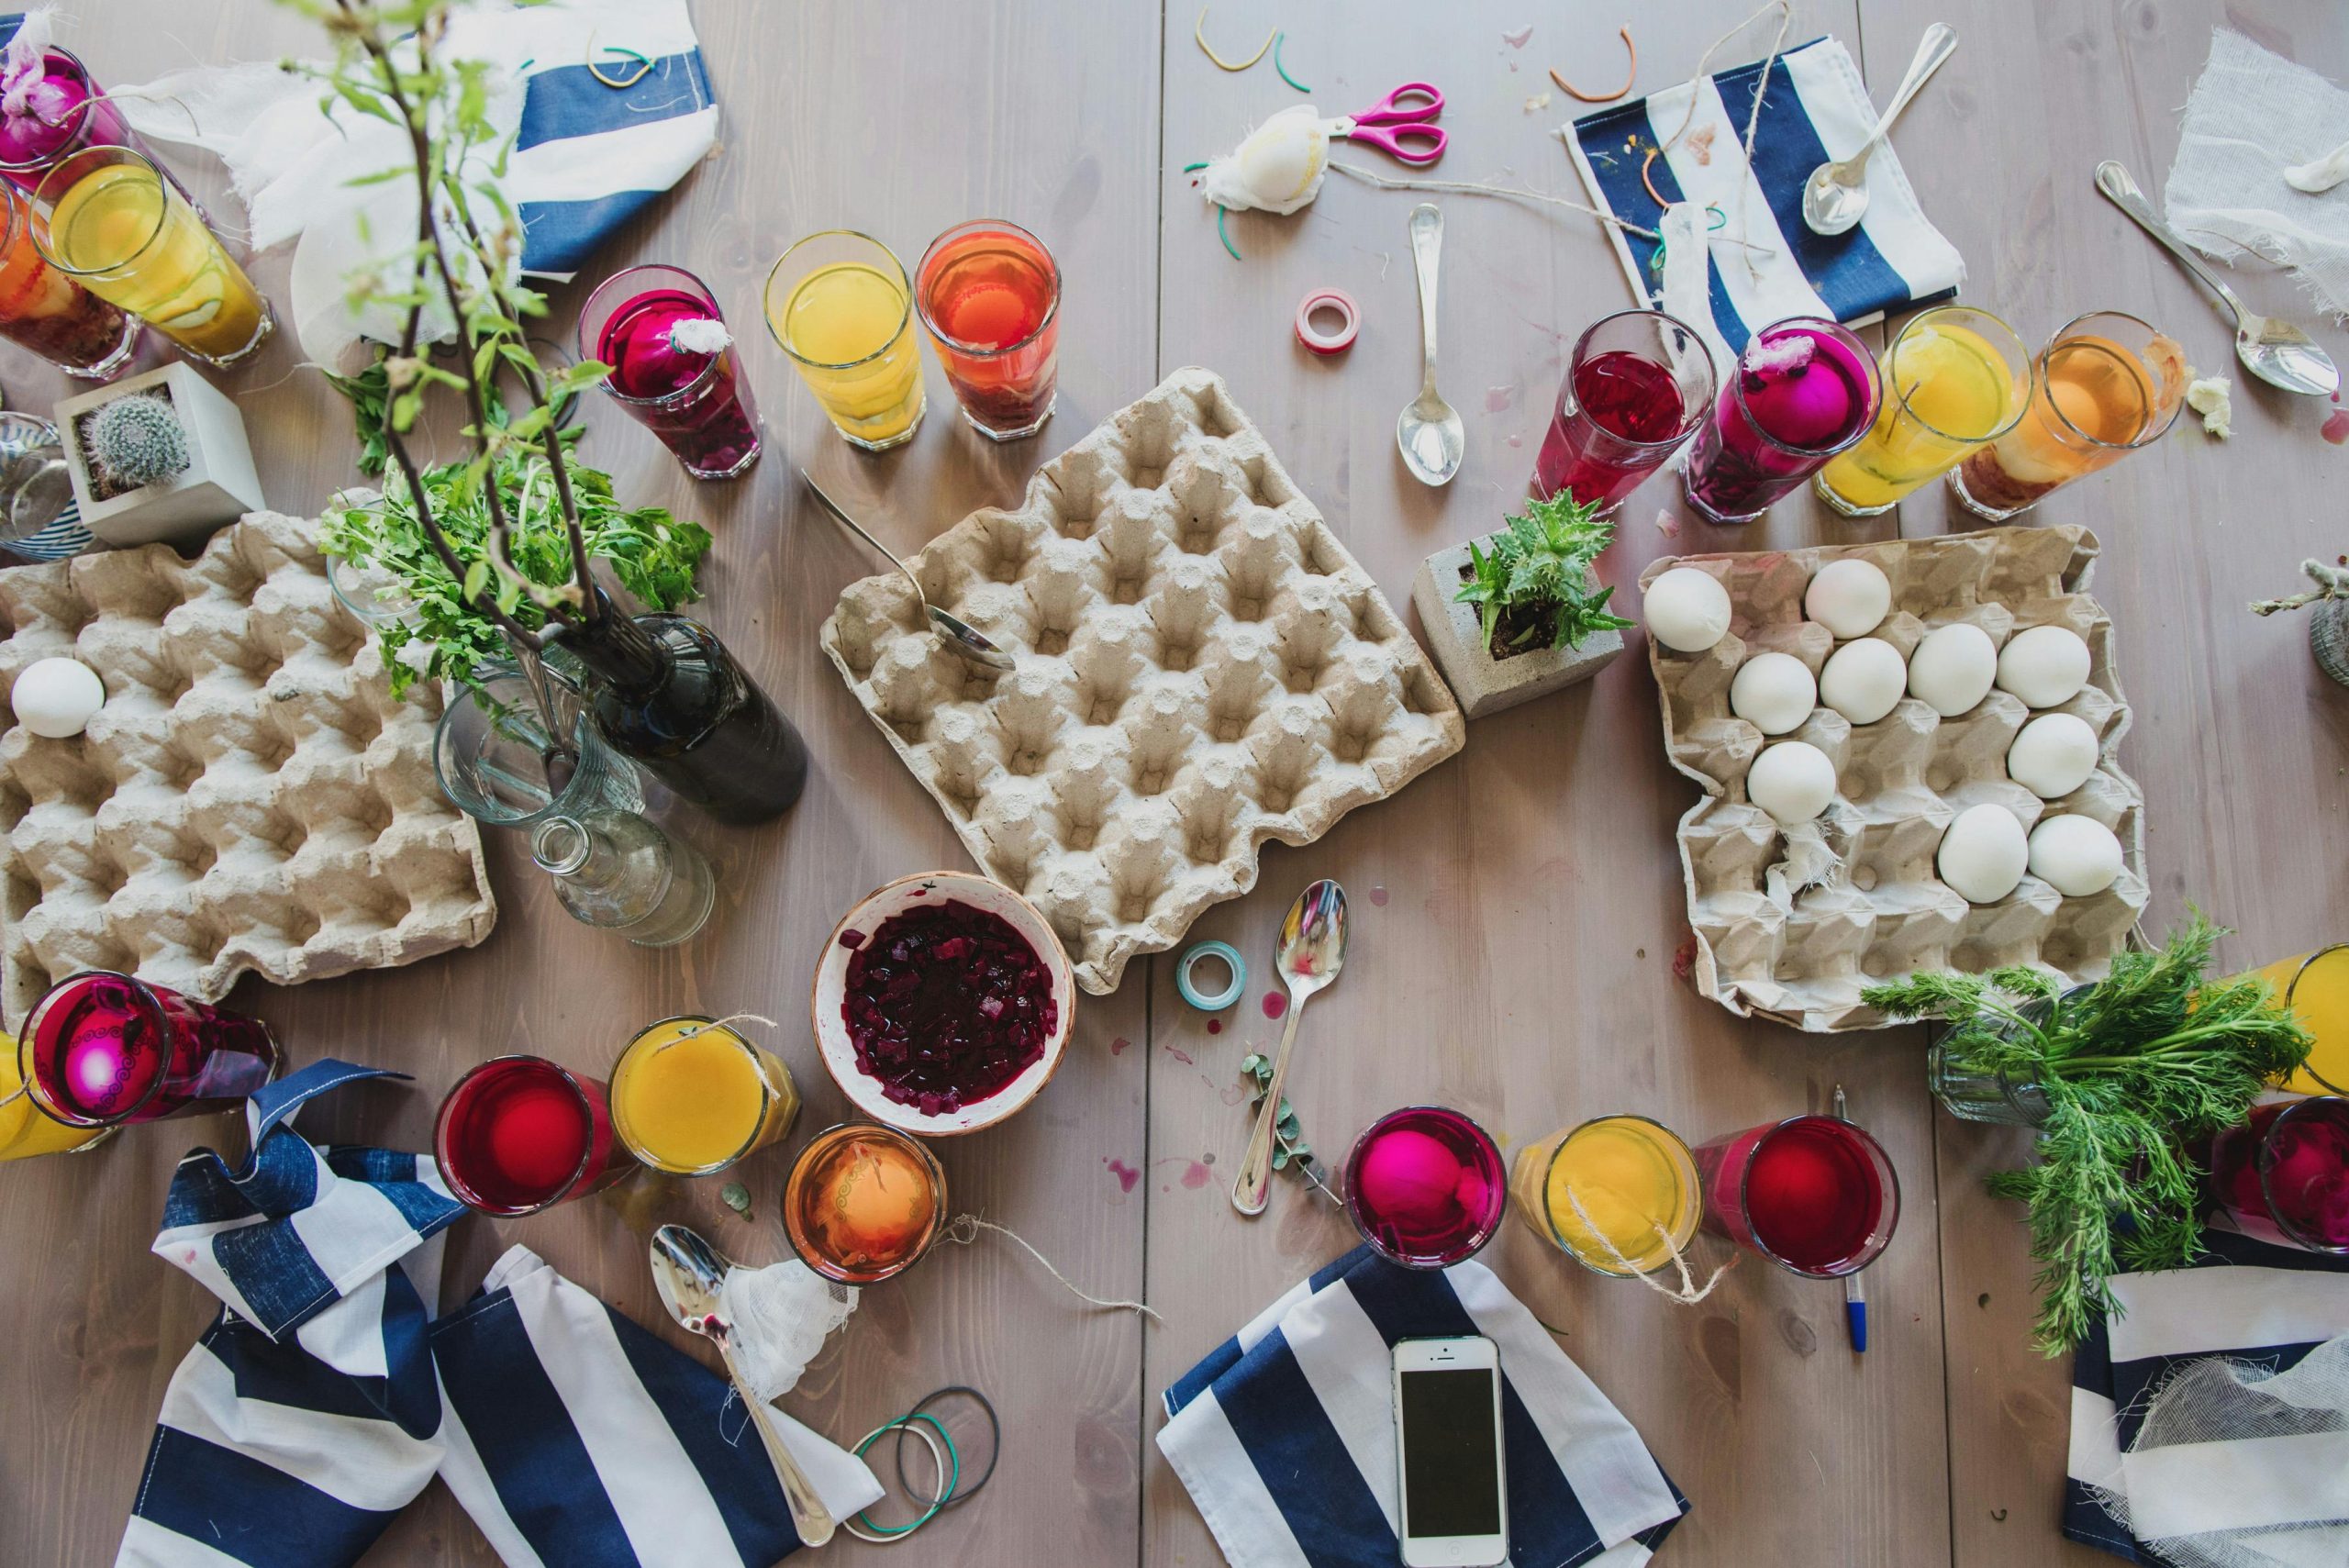
Easter is a vibrant and joyful celebration, and one of the most beloved traditions is dyeing Easter eggs. This creative and colorful activity brings families and friends together to express their artistic flair. In this guide, we’ll explore the delightful process of dyeing Easter eggs, providing you with step-by-step instructions to create beautifully adorned eggs that will be the highlight of your Easter festivities.

Learning how to dye eggs without a kit is not only budget-friendly but also allows for limitless creativity. Utilizing simple ingredients like white eggs, food coloring, and white vinegar, this approach is perfect for a fun and cost-effective family activity.
Benefits of Dyeing Eggs Without a Kit:
Dyeing eggs without a kit is a cool way to make Easter eggs with your family. It’s like a DIY project that lets you be super creative. Instead of using kits, you can pick your own colors and create fun designs on the eggs. This makes each egg special and unique. The best part is, everyone in the family can join in! From choosing colors to drawing cool patterns, it’s a fun activity that brings everyone together and makes awesome memories.
The cool thing is, you don’t need fancy stuff. Just grab some white eggs, food coloring, and white vinegar from your kitchen. It’s way cheaper than buying a kit, and you still get to have a great time. Plus, it’s good for the Earth because you’re not using a bunch of extra packaging. So, dyeing eggs without a kit is not just about making pretty eggs, it’s also about having a blast with your family and keeping things simple and friendly to our planet.
Tips for Dyeing Eggs:
Ensure a successful egg-dyeing experience with these helpful tips:
- Always boil the eggs first to prevent breakage, especially when involving kids.
- Handling chilled, hard-boiled eggs makes the dyeing process easier. Chilled eggs are less likely to break during the activity, especially if you’re involving kids.
- Experiment with different food coloring amounts to achieve the desired tones and hues.
- Opt for food-safe dye to ensure the safety of the eggs, especially if you plan to consume them later. This type of dye provides vibrant colors without compromising the edibility of the eggs.
- When dyeing multiple eggs, ensure they have enough space in the dye containers. Overcrowding may lead to uneven coloring, so use a larger bowl or cup if necessary.
- Cover your workspace with newspaper or disposable tablecloths to prevent staining surfaces. Egg dye can be colorful but might also leave marks, so it’s good to protect your surroundings.
Materials Needed:
Gather these essential materials for a successful egg-dyeing session:
- White vinegar
- A dozen white eggs
- A variety of food coloring
Dyeing Process Steps:
Follow these easy steps to create vibrant Easter eggs:
- Boil the eggs in a large pot over medium heat for approximately 8 minutes. After boiling, transfer the eggs to a bowl and allow them to cool. This step ensures that the eggs are fully cooked and provides a suitable temperature for handling.
- In separate containers, pour enough hot water to completely cover an egg. Add 1 tablespoon of white vinegar to each container to enhance the dyeing process. The suggested ratio is 1 to 2 drops of food coloring per mixture, but you can adjust this based on your desired color intensity.
- Submerge eggs in the dye for about 5 minutes for vibrant colors.
- Adjust the soaking time based on your preference for lighter or darker hues.
- For a darker hue, consider leaving the egg in the dye for a few more minutes, up to a maximum of 30 minutes. Experimentation with soaking times allows you to achieve a spectrum of colors.
Adjusting Color Intensity:
Experimenting with color intensity adds a personal touch to your dyed eggs. Follow these guidelines for adjusting color intensity:
- Start with 1 to 2 drops of food coloring in the white vinegar mixture.
- For deeper or more vibrant colors, consider adding 3 to 5 drops, or up to 5 to 10 drops for richer tones.
- Keep in mind that more food coloring results in a darker color, so adjust according to your preference.
- Lighter colors may benefit from extended soaking times for a subtler, pastel appearance.
Dyeing Easter eggs without a kit is a delightful and rewarding experience. It brings families closer and creates beautiful, personalized decorations. Embrace the joy of experimentation and let your creativity shine through as you embark on this Easter egg-dyeing adventure. Additionally, dyeing Easter eggs is one of the art activities that kids can enjoy during Easter festivities. Happy Easter!


